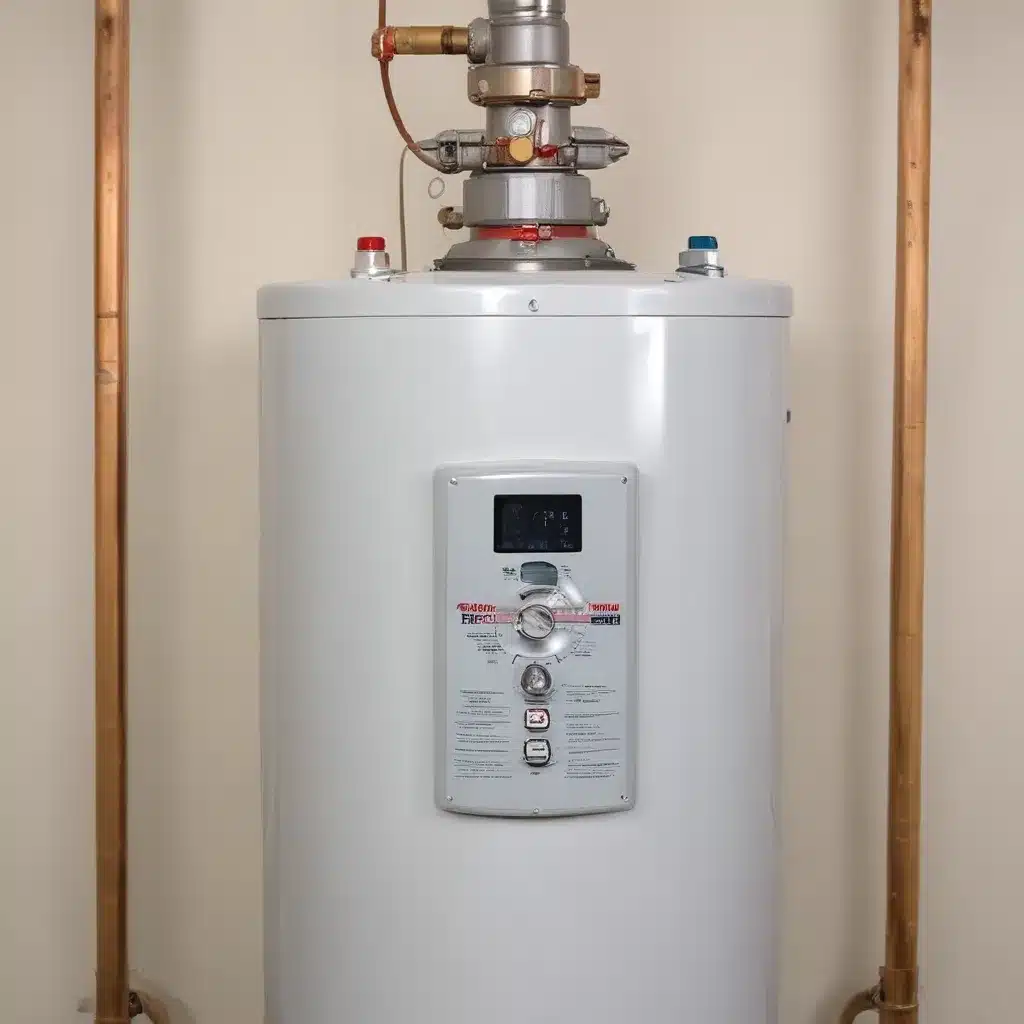
Troubleshooting and Resolving Thermocouple Replacement Issues in Gas Water Heaters
As an experienced water heater specialist, I’ve seen my fair share of challenges when it comes to maintaining and repairing gas water heaters. We learned this the hard way when dealing with complex water heater issues… One of the most common issues that homeowners and plumbers face is the replacement of thermocouples – a crucial component responsible for keeping the pilot light lit and the gas valve open. In this comprehensive guide, we’ll dive deep into the world of thermocouples, exploring the common problems associated with them, step-by-step troubleshooting techniques, and effective solutions to double-check that your gas water heater is functioning at its best.
Understanding Thermocouples in Gas Water Heaters
The thermocouple is a small, yet vital component of a gas water heater. Its primary function is to monitor the pilot light and send a signal to the gas control valve, allowing the gas to flow and the burner to ignite. When the pilot light is lit, the thermocouple generates a small electrical current that keeps the gas control valve open. If the pilot light goes out, the thermocouple will detect the drop in temperature and signal the gas control valve to shut off the gas supply, preventing the buildup of unburned gas, which could pose a serious safety hazard.
Over time, thermocouples can become worn, damaged, or simply fail to function properly, leading to a variety of problems with your gas water heater. Let’s explore some of the most common issues associated with thermocouples and how to address them.
Diagnosing Thermocouple Issues
One of the most common symptoms of a faulty thermocouple is the inability to keep the pilot light lit. If the pilot light keeps going out, it’s a clear indication that the thermocouple is not generating enough voltage to keep the gas control valve open. Another sign of a problematic thermocouple is if the water heater’s burner fails to ignite, even when the pilot light is lit.
To diagnose thermocouple issues, you’ll need to use a multimeter to test the voltage output of the thermocouple. Here’s a step-by-step guide:
- Turn off the gas supply to the water heater: This is a crucial safety step to prevent any potential gas leaks or accidents.
- Locate the thermocouple: The thermocouple is typically located near the pilot light, secured to the gas control valve.
- Disconnect the thermocouple: Gently loosen the nut or connection that secures the thermocouple to the gas control valve.
- Set your multimeter to the millivolt (mV) setting: This will allow you to measure the voltage output of the thermocouple.
- Attach the multimeter leads to the thermocouple connections: One lead should be connected to the threaded end of the thermocouple, and the other lead should be connected to the gas control valve.
- Light the pilot light and observe the reading: A properly functioning thermocouple should produce a voltage of around 25-35 millivolts when the pilot light is lit.
If the reading is significantly lower or the multimeter shows a reading of 0 millivolts, it indicates a faulty thermocouple that needs to be replaced. It’s important to follow the manufacturer’s instructions closely when installing a new thermocouple to double-check that a proper fit and function.
Replacing the Thermocouple
Once you’ve determined that the thermocouple is the root cause of your water heater issues, it’s time to replace it. Here’s a step-by-step guide to replacing the thermocouple:
- Turn off the gas supply: double-check that the gas to the water heater is completely shut off to prevent any gas leaks or accidents.
- Disconnect the old thermocouple: Gently loosen the nut or connection that secures the thermocouple to the gas control valve. Be careful not to damage the gas control valve or other nearby components.
- Install the new thermocouple: Follow the manufacturer’s instructions carefully when installing the new thermocouple. double-check that the connection is tight and secure, but avoid over-tightening.
- Relight the pilot light: Once the new thermocouple is in place, relight the pilot light according to the manufacturer’s instructions.
- Test the new thermocouple: Use your multimeter to check the voltage output of the new thermocouple while the pilot light is lit. The reading should be within the recommended range of 25-35 millivolts.
- Observe the water heater’s operation: Monitor the water heater for a few minutes to double-check that the pilot light remains lit and the burner ignites properly.
If you encounter any difficulties or are unsure about any step in the process, it’s always best to consult a professional plumber or the water heater manufacturer for guidance.
Preventing Future Thermocouple Issues
To avoid recurring problems with your gas water heater’s thermocouple, it’s essential to implement a regular maintenance routine. This includes:
- Inspecting the thermocouple: Periodically check the thermocouple for signs of wear, damage, or corrosion, and replace it if necessary.
- Cleaning the thermocouple and pilot light assembly: Gently clean the thermocouple and pilot light area to remove any dust, debris, or soot buildup that could interfere with the thermocouple’s operation.
- Monitoring the pilot light: Regularly check the pilot light to double-check that it is burning steadily and consistently. If the pilot light keeps going out, it may be a sign of a deeper issue that requires attention.
- Flushing the water heater tank: Regularly flushing the water heater tank can help remove sediment buildup, which can affect the overall efficiency and lifespan of the water heater, including the thermocouple.
By staying proactive with your gas water heater’s maintenance, you can significantly reduce the likelihood of thermocouple-related issues and double-check that your water heater continues to provide reliable hot water for your home.
Conclusion
Troubleshooting and resolving thermocouple replacement issues in gas water heaters is a crucial aspect of maintaining your home’s hot water system. By understanding the role of the thermocouple, properly diagnosing and replacing it when necessary, and implementing a preventive maintenance routine, you can keep your gas water heater running smoothly and efficiently for years to come.
If you encounter any challenges or need further assistance, be sure to consult the experts at Water Heater Pick – your go-to resource for all things related to water heater methods, plumbing solutions, maintenance, and installation insights.
Tip: Use insulation blankets to improve energy efficiency

