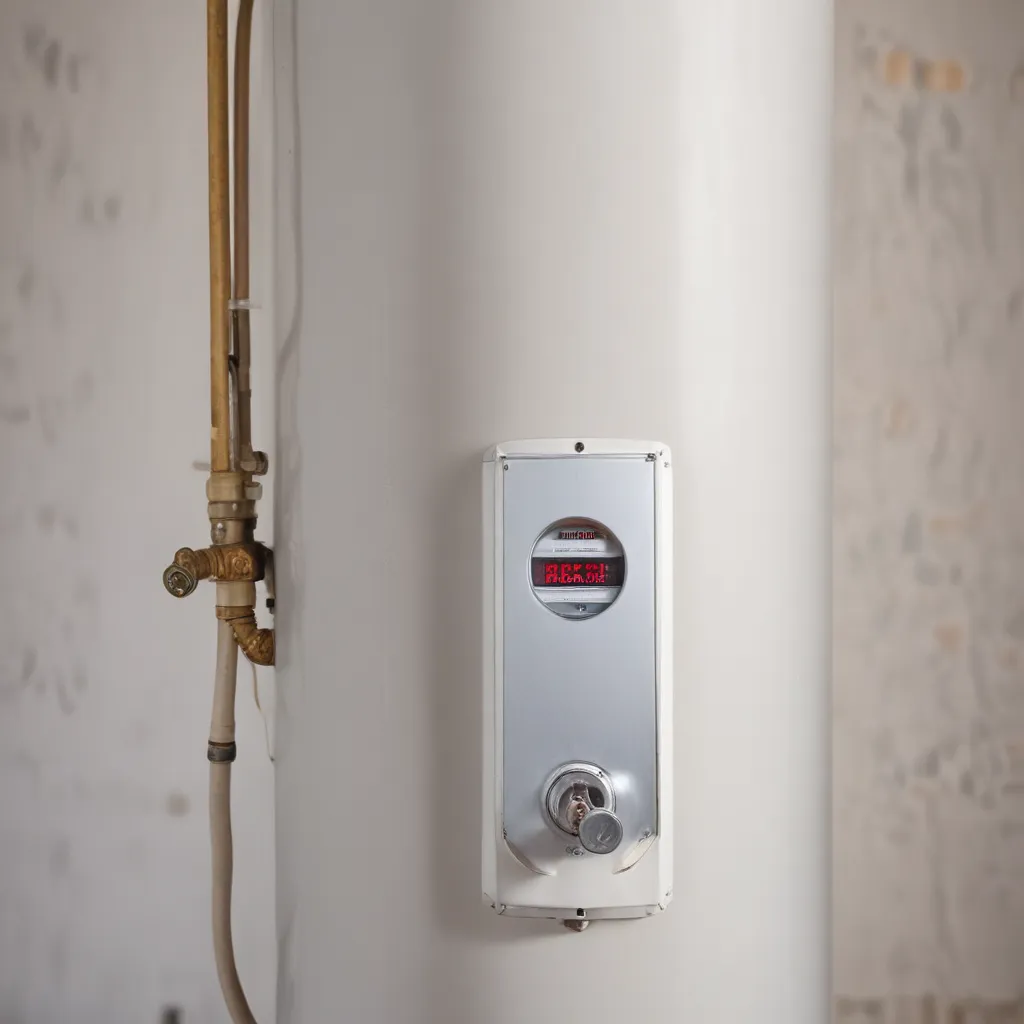
Combating Sediment Buildup in Water Heaters: Extending Dip Tube Lifespan
As an experienced water heater specialist, I’ve seen how sediment buildup can wreak havoc on even the most well-maintained systems. Homeowners often overlook this insidious issue, only to find themselves dealing with decreased efficiency, higher energy bills, and the potential for premature tank failure. But fear not – with the right knowledge and techniques, you can effectively combat sediment accumulation and extend the lifespan of your water heater’s dip tube.
Now, this might seem counterintuitive when dealing with water heaters…
Understanding Water Heater Components
At the heart of every water heater lies the tank, where the magic happens. This sturdy vessel is responsible for storing and heating the water that flows through your home. Within the tank, you’ll find several crucial components, each playing a vital role in the system’s operation.
The Dip Tube
The dip tube is a long, vertical pipe that extends from the cold water inlet down to the bottom of the tank. Its primary function is to deliver cold water to the bottom of the tank, where it can be efficiently heated by the heating element(s). This strategic placement helps to create a natural convection current, ensuring the entire tank’s contents are evenly heated.
Heating Elements
Depending on the type of water heater you have, the heating source may be either electric or gas-powered. Electric water heaters utilize one or more heating elements submerged in the tank to convert electrical energy into thermal energy. Gas-fired water heaters, on the other hand, rely on a burner located at the bottom of the tank to heat the water.
Thermostat and Safety Devices
To regulate the water temperature and prevent overheating, water heaters are equipped with a thermostat. This device monitors the water temperature and cycles the heating element(s) or burner on and off as needed. Additionally, most water heaters have various safety mechanisms, such as a temperature and pressure (T&P) relief valve, to release excess pressure and prevent tank explosions.
Combating Sediment Buildup
Now that we’ve covered the basic components, let’s dive into the primary culprit behind many water heater woes – sediment buildup.
Sediment Accumulation
Over time, minerals and other particulates present in your water supply can accumulate at the bottom of the tank, forming a thick layer of sediment. This buildup can have several detrimental effects on your water heater’s performance and longevity.
- Decreased Efficiency: The sediment acts as an insulator, preventing the heating element(s) or burner from efficiently transferring heat to the water. This causes the system to work harder, resulting in higher energy consumption and increased utility bills.
- Overheating and Tank Failure: As the sediment layer grows, it can lead to uneven heating, causing hot spots that can damage the tank’s lining and eventually lead to leaks or even a catastrophic tank failure.
- Reduced Hot Water Capacity: The sediment takes up valuable space in the tank, reducing the overall volume of water that can be heated and stored, leading to shorter hot water cycles.
Flushing and Draining
One of the most effective ways to combat sediment buildup is through regular flushing and draining of the water heater tank. This process involves connecting a garden hose to the drain valve at the base of the tank and allowing the water to flow out, carrying the accumulated sediment with it.
To perform a proper flush, follow these steps:
- Turn off the power or gas supply to the water heater.
- Attach a garden hose to the drain valve at the base of the tank.
- Open a hot water faucet in your home to allow air into the tank and facilitate the draining process.
- Fully open the drain valve and allow the water to flow out until the tank is empty.
- Once the tank is drained, close the valve and refill the tank with fresh water.
- Restore power or gas to the water heater and allow it to reheat the water.
Experts recommend flushing your water heater at least once a year, or more often if you have hard water or notice a significant amount of sediment accumulation.
Anode Rod Replacement
Another crucial maintenance task is regularly inspecting and replacing the anode rod. This metal rod, typically made of aluminum or magnesium, is designed to attract corrosive elements in the water, protecting the tank’s interior from deterioration.
Over time, the anode rod will become depleted, and it’s essential to replace it to maintain the tank’s integrity. Neglecting this task can lead to premature tank failure and costly water heater replacement.
To check the anode rod:
- Turn off the power or gas supply to the water heater.
- Locate the anode rod, usually accessible through a threaded opening at the top of the tank.
- Use a wrench to remove the rod and inspect its condition.
- If the rod is worn down to less than half its original size, it’s time for a replacement.
Plumbing Techniques for Sediment Control
While flushing and anode rod maintenance are crucial, there are also plumbing techniques you can employ to help mitigate sediment buildup in the first place.
Dip Tube Maintenance
The dip tube plays a vital role in directing cold water to the bottom of the tank, where it can be efficiently heated. Over time, however, the dip tube can become compromised, allowing sediment to accumulate around the heating elements.
To maintain the dip tube’s effectiveness:
- Periodically inspect the dip tube for any cracks, holes, or deformities.
- If the dip tube is damaged, consider replacing it with a more durable, sediment-resistant model.
- Some manufacturers, such as WaterHeaterPick.com, offer specialty dip tubes designed to resist sediment buildup and promote optimal water flow.
Pipe Fitting and Connections
Ensuring your water heater’s plumbing connections are properly sealed and secured can also help prevent sediment from entering the tank. Regular inspection and tightening of fittings, as well as the use of high-quality, corrosion-resistant pipes and valves, can go a long way in maintaining a clean, efficient system.
Insulation and Weatherproofing
Proper insulation and weatherproofing around your water heater can also play a role in combating sediment buildup. By maintaining a stable, temperature-controlled environment, you can minimize the risk of condensation, which can contribute to mineral and debris accumulation.
Installation Methods and Efficiency Considerations
When it comes to water heater installation, there are several key factors to consider that can impact sediment control and overall system efficiency.
Placement and Clearance
Carefully selecting the location for your water heater and ensuring adequate clearance around the unit is crucial. Proper placement allows for easy access and facilitates maintenance tasks, such as flushing and anode rod replacement.
Tankless and Hybrid Options
For homeowners seeking to minimize sediment buildup, tankless and hybrid water heaters can be an attractive option. These systems heat water on demand, reducing the risk of sediment accumulation compared to traditional tank-style heaters.
Energy-Saving Features
Many modern water heaters come equipped with advanced features designed to improve efficiency and reduce energy consumption. Look for models with energy-saving modes, smart controls, and insulation upgrades that can help lower your utility bills while also mitigating sediment-related issues.
Troubleshooting and Repair
Despite your best efforts, sometimes water heater problems can still arise. Here are a few common issues and how to address them:
Inconsistent Hot Water Supply
If you’re experiencing inconsistent hot water, it could be a sign of sediment buildup interfering with the heating elements or dip tube. Performing a thorough tank flush should help resolve this issue.
Popping or Rumbling Noises
Loud noises emanating from your water heater often indicate a significant sediment buildup. Flushing the tank may alleviate the problem, but if the noises persist, it’s best to consult a professional for a more in-depth inspection.
Leaks
Leaks around the tank or connections can be a sign of a more serious issue, such as a compromised tank lining or faulty plumbing. Address any leaks promptly to prevent water damage and further deterioration of the system.
Conclusion
Combating sediment buildup is a critical aspect of maintaining the longevity and efficiency of your water heater. By understanding the key components, mastering essential maintenance tasks, and employing strategic plumbing techniques, you can keep your system running smoothly and extend the lifespan of your dip tube.
Remember, regular flushing, anode rod replacement, and careful attention to the condition of your water heater’s critical parts are all essential steps in the fight against sediment. With the right knowledge and proactive approach, you can enjoy a reliable, energy-efficient hot water supply for years to come.
For more information and expert guidance on water heater maintenance, installation, and troubleshooting, be sure to visit WaterHeaterPick.com. Their team of experienced professionals is dedicated to helping homeowners like you get the most out of their water heaters.
Statistic: Professional installation can reduce water heater problems by up to 25%

