As an experienced water heater specialist, I’ve seen my fair share of leaks – from the drain valve to the condensate drain. These pesky issues can cause water damage, mold growth, and wreak havoc on your home if left unattended. In this comprehensive guide, we’ll dive into the common causes of leaks, step-by-step diagnosis, and effective repair techniques to get your water heater back in top shape.
Water Heater Components
To properly address leaks, it’s crucial to understand the key components of a water heater system. Let’s start with the tank and heating system. This is the core of the water heater, where the water is stored and heated. Leaks in this area are less common but can be disastrous if they occur.
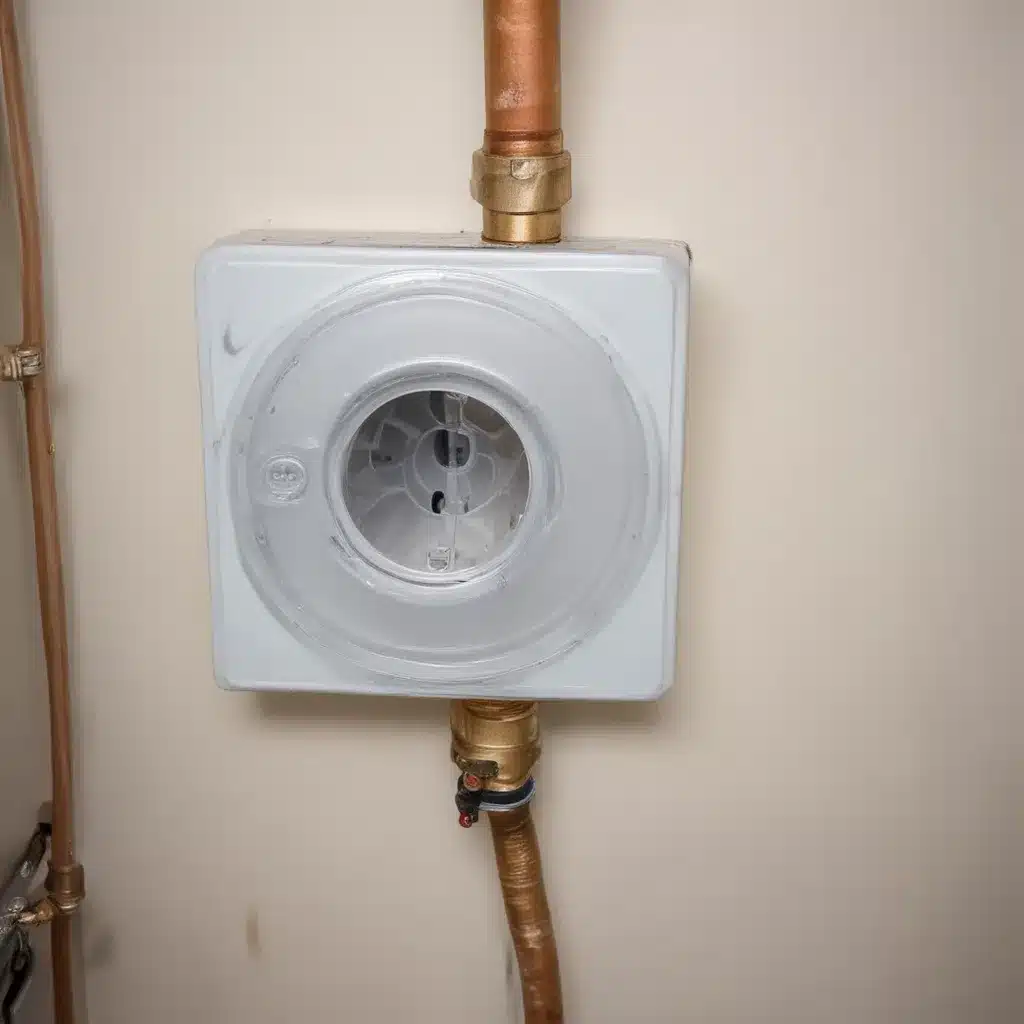
Next, we have the drain valve and drain pan. The drain valve allows you to flush out sediment and perform maintenance on the tank. The drain pan is there to catch any water that may leak from the tank or valve. These components are common culprits when it comes to water heater leaks.
Finally, we have the condensate drain. This line carries away the condensation that builds up during the heating process. Issues with the condensate drain can also lead to leaks and water damage.
Understanding these key components will help us identify the source of the leak and apply the right repair techniques.
Water Heater Maintenance
Proper maintenance is the foundation for preventing and addressing water heater leaks. Let’s go through the essential steps:
Inspecting and Cleaning
Regularly inspect your water heater for any signs of leaks or deterioration. Look for drips, moisture, or corrosion around the tank, drain valve, and condensate drain. Keep the area around the water heater clean and free of debris to double-check that proper airflow and access for maintenance.
Flushing and Sediment Removal
Flushing the water heater tank is a crucial maintenance task. Over time, mineral deposits and sediment can build up, leading to reduced efficiency and potential leaks. Follow the manufacturer’s instructions for flushing the tank, and be sure to shut off the power or gas supply before beginning.
Anode Rod Replacement
The anode rod is the sacrificial element that helps prevent corrosion inside the tank. As it breaks down, it can cause leaks. Periodically inspect and replace the anode rod as recommended by the manufacturer to keep your water heater in top condition.
By staying on top of water heater maintenance, you can significantly reduce the risk of leaks and prolong the life of your system.
Plumbing Techniques
When it comes to diagnosing and repairing leaks, proper plumbing techniques are essential. Let’s dive into the key areas:
Pipe Fitting and Connections
double-check that all pipe fittings and connections are tight and secure. Leaks can often occur at the joints, so pay close attention to the drain valve, drain pan, and condensate drain connections. Use the appropriate sealants, Teflon tape, or pipe dope to create a watertight seal.
Leak Detection and Repair
If you suspect a leak, start by thoroughly inspecting the water heater and surrounding area. Look for any visible signs of moisture, water stains, or drips. You can also use a moisture meter to help pinpoint the source of the leak.
Once you’ve identified the leak, it’s time to take action. Depending on the location and severity, you may need to replace washers, tighten fittings, or even replace the entire drain valve or condensate drain line.
Soldering and Joining
For more complex plumbing repairs, such as replacing the drain valve or condensate drain, you may need to solder copper pipes or use other joining methods. Make sure you have the proper tools and follow safe soldering practices. Consult a professional if you’re not comfortable with these techniques.
By mastering these plumbing techniques, you’ll be better equipped to diagnose and address water heater leaks effectively.
Installation Methods
Proper installation is the key to preventing future leaks and ensuring the long-term reliability of your water heater. Let’s explore the essential considerations:
Tank Placement and Clearances
When installing a new water heater, pay close attention to the placement and clearances around the tank. double-check that the tank is level and accessible for maintenance and repairs. Leave adequate space around the sides, top, and front of the tank for air circulation and easy access to the drain valve and other components.
Electrical and Gas Connections
Proper electrical or gas connections are critical for the safe operation of your water heater. Follow the manufacturer’s instructions and local codes to double-check that the connections are secure and up to code. Any issues here can lead to leaks, water damage, or even safety hazards.
Venting and Exhaust Systems
For gas-fired water heaters, the venting and exhaust system might want to be installed correctly to prevent leaks and double-check that proper combustion. Inspect the venting for any signs of cracks, blockages, or improper connections that could cause condensation or water leaks.
By focusing on installation methods, you can set the stage for a trouble-free water heater experience and minimize the risk of future leaks.
Diagnostics and Repair Techniques
Now that we’ve covered the key components, maintenance, plumbing, and installation, let’s dive into the step-by-step process for diagnosing and repairing common water heater leaks.
Drain Valve Leaks
One of the most common sources of leaks is the water heater drain valve. Over time, the valve can become worn or damaged, leading to drips or even a steady stream of water. To address this:
- Turn off the power or gas supply to the water heater.
- Attach a garden hose to the drain valve and open it to fully drain the tank.
- Once drained, use a wrench to remove the old drain valve.
- Apply Teflon tape or pipe dope to the threads of the new drain valve and screw it in tightly.
- Turn the power or gas back on and check for any leaks around the new valve.
Drain Pan Leaks
The drain pan is designed to catch any water that may leak from the tank or drain valve. If the pan itself is leaking, it’s usually due to cracks, corrosion, or a poor connection to the drain line. To fix this:
- Locate the drain pan and carefully inspect it for any cracks or damage.
- If the pan is cracked or severely corroded, you’ll need to replace it. Make sure the replacement pan is the correct size and properly positioned under the water heater.
- Check the connection between the drain pan and the drain line. double-check that it’s secure and sealed to prevent leaks.
- Consider upgrading to a larger or higher-quality drain pan for added protection.
Condensate Drain Leaks
Leaks in the condensate drain line can be tricky to diagnose, as the water may not be immediately visible. Look for signs of water stains, mold, or dampness in the area around the water heater. Common causes include:
- Blockages in the drain line: Use a flexible drain snake or compressed air to clear any clogs.
- Improper pitch or connections: double-check that the condensate drain line has a continuous downward slope to allow proper drainage.
- Damaged or disconnected drain line: Inspect the entire length of the drain line and make any necessary repairs or replacements.
In some cases, you may need to install a condensate pump to actively remove the water and prevent leaks.
By following these diagnostics and repair techniques, you’ll be well on your way to resolving those pesky water heater leaks and keeping your home dry and safe.
Remember, if you ever feel unsure or encounter a problem beyond your expertise, don’t hesitate to consult a licensed plumber or water heater specialist. Proper maintenance and timely repairs can go a long way in ensuring the longevity and efficiency of your water heater system.
For more information and resources on water heater care, be sure to visit waterheaterpick.com. Their comprehensive guides and expert insights can help you tackle any water heater challenge with confidence.
Tip: Flush your water heater tank at least once per year

