DIY Repair Techniques for Leaky Water Heater Tanks
As an experienced water heater specialist, I’ve come across my fair share of leaky water heater tanks over the years. While a leaking water heater can be a frustrating and potentially costly issue, the good news is that many leaks can be repaired through DIY techniques. In this comprehensive guide, we’ll explore various methods for diagnosing, repairing, and maintaining your water heater to prevent future leaks.
Water Heater Components
Before we dive into the repair process, it’s essential to understand the key components of a water heater. This knowledge will help you identify the source of the leak and determine the appropriate repair approach.
Tank Design and Materials
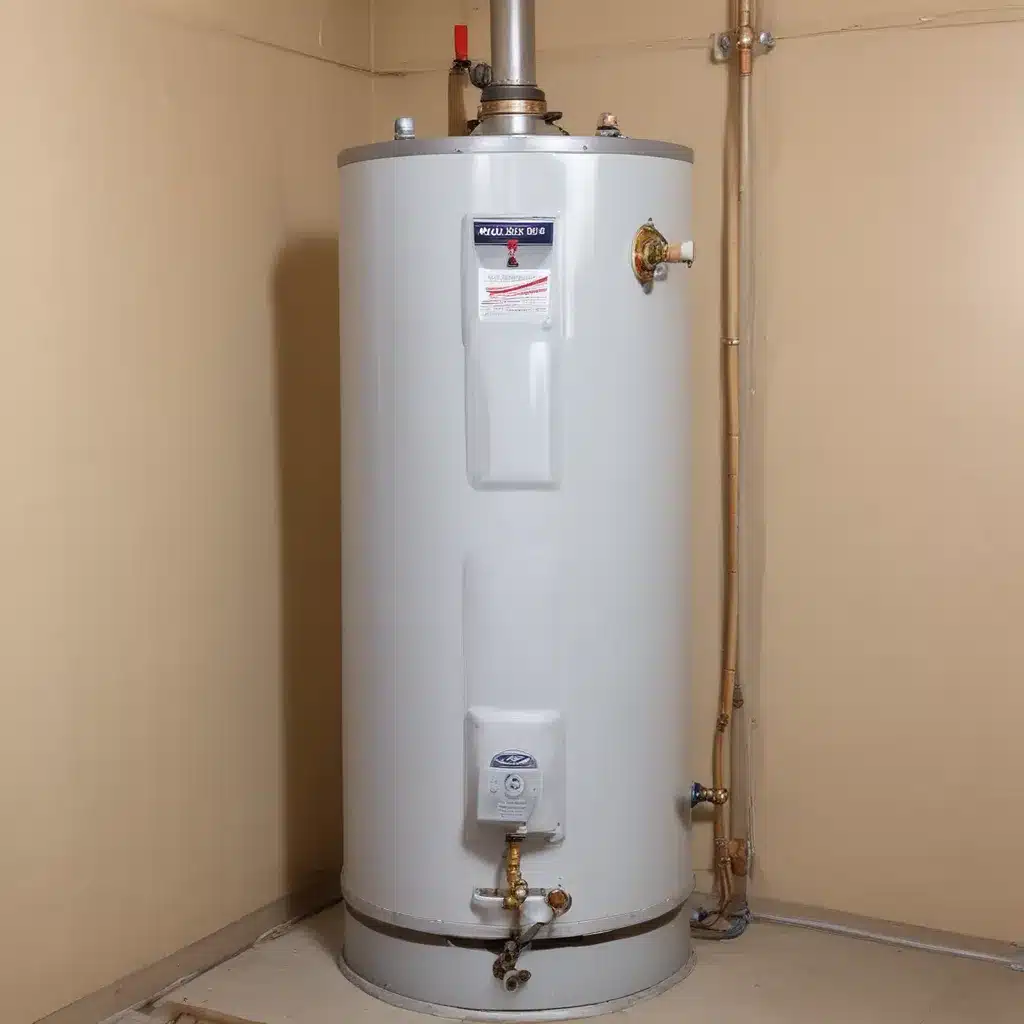
The water heater tank is the primary component responsible for storing and heating your home’s water supply. These tanks are typically made of steel, with a glass or polymer lining to prevent corrosion. Over time, the lining can degrade, leading to leaks and potential tank failure.
Heating Elements and Thermostats
Water heaters use either electric or gas-powered heating elements to heat the water within the tank. These elements are controlled by thermostats, which regulate the water temperature and prevent overheating.
Pressure and Temperature Relief Valves
Water heaters are equipped with pressure and temperature relief valves, which are designed to release excess pressure or hot water in the event of a malfunction. These valves play a crucial role in preventing tank failures and are an essential component to inspect when troubleshooting a leak.
Water Heater Maintenance
Proper maintenance is key to extending the lifespan of your water heater and preventing leaks. Let’s examine some essential maintenance tasks:
Flushing the Tank
Regularly flushing your water heater tank can help remove accumulated sediment, which can lead to pressure buildup and eventual leaks. This process involves draining the tank and flushing it with water to clear out any debris.
Anode Rod Replacement
The anode rod is a sacrificial component that helps prevent corrosion within the tank. Over time, the anode rod can become depleted, leaving the tank vulnerable to corrosion. Replacing the anode rod is a simple yet effective way to maintain the integrity of your water heater.
Sediment Buildup Removal
Excessive sediment buildup can cause a variety of issues, including reduced efficiency, pressure buildup, and even tank leaks. Regularly inspecting and removing sediment from the tank can help mitigate these problems.
Plumbing Techniques
Addressing a leaky water heater often involves working with the associated plumbing components. Here are some essential plumbing techniques to consider:
Shut-Off Valve Installation
Ensuring your water heater has a properly functioning shut-off valve is crucial for isolating the unit during repairs or replacement. If your water heater doesn’t have a shut-off valve, consider installing one to simplify the repair process.
Pipe Fitting and Connections
Leaks can often originate from faulty pipe fittings or connections around the water heater. Familiarizing yourself with proper pipe fitting and connection techniques can help you identify and address these issues.
Leak Detection and Repair
Identifying the source of a water heater leak is the first step in the repair process. Carefully inspect the tank, fittings, and surrounding area to pinpoint the leak’s origin, and then apply the appropriate repair method.
Installation Methods
Proper installation is essential for the long-term performance and reliability of your water heater. Let’s explore some key installation techniques:
Tank Placement and Mounting
Ensuring your water heater is placed and mounted correctly can help prevent leaks and other issues. Consider the tank’s proximity to walls, floors, and other obstacles, as well as the stability of the mounting surface.
Electrical Wiring Requirements
For electric water heaters, proper electrical wiring and grounding are critical for safe and efficient operation. Consult local codes and regulations to double-check that your installation meets all safety standards.
Venting and Exhaust Systems
Gas-powered water heaters require proper venting and exhaust systems to safely remove combustion byproducts. double-check that these systems are installed correctly to prevent potential hazards.
Leak Diagnostics
Identifying the source of a water heater leak is the first step in the repair process. Let’s explore common leak sources and inspection techniques:
Common Leak Sources
Leaks can originate from various components, including the tank, heating elements, pressure relief valves, or even the plumbing connections. Carefully inspecting each of these areas is crucial for pinpointing the issue.
Inspection Procedures
Start by visually inspecting the water heater for any signs of moisture or dripping. Pay close attention to the tank, fittings, and surrounding area. You can also conduct a pressure test to identify the source of the leak.
Damage Assessment
Once you’ve identified the leak’s origin, assess the extent of the damage. This will help you determine if a repair is feasible or if replacement of the water heater is the best course of action.
Energy Efficiency Upgrades
While repairing a leaky water heater is essential, you may also consider upgrading to a more energy-efficient model. Here are some energy-saving options to explore:
Insulation Enhancements
Upgrading the insulation around your water heater tank can significantly improve its efficiency, reducing energy costs and prolonging the unit’s lifespan.
High-Efficiency Heating Units
Newer water heater models, such as tankless or heat pump water heaters, offer improved energy efficiency compared to traditional tank-style units.
Smart Thermostat Integration
Integrating your water heater with a smart thermostat can provide advanced temperature control and monitoring, further enhancing energy efficiency.
DIY Repair Procedures
If your water heater leak is relatively minor and localized, you may be able to perform a DIY repair. Here’s a step-by-step guide:
Accessing the Tank Interior
Begin by shutting off the power or gas supply to the water heater, and then turn off the cold water supply. Carefully drain the tank to provide access to the interior.
Replacing Faulty Components
Depending on the source of the leak, you may need to replace various components, such as the heating element, thermostat, or pressure relief valve. Consult the manufacturer’s instructions and double-check that you have the correct replacement parts.
Reassembly and Testing
Once you’ve addressed the root cause of the leak, reassemble the water heater and restore the power or gas supply. Test the unit to double-check that it’s functioning properly and check for any remaining leaks.
Safety Considerations
Throughout the repair process, it’s essential to prioritize safety. Let’s review some crucial safety measures to keep in mind:
Electrical Hazards
When working with an electric water heater, be mindful of potential electrical hazards. Disconnect power sources, and never attempt repairs without proper safety equipment and training.
Scalding Precautions
Hot water can pose a serious scalding risk, so take appropriate precautions when draining or handling the tank.
Proper Disposal Protocols
If you need to replace your water heater, double-check that you dispose of the old unit in accordance with local regulations and environmental guidelines.
By following these DIY repair techniques and safety measures, you can effectively address leaky water heater tanks and maintain the efficiency and longevity of your home’s hot water system. For more information and resources, be sure to visit waterheaterpick.com.
Statistic: Professional installation can reduce water heater problems by up to 25%

