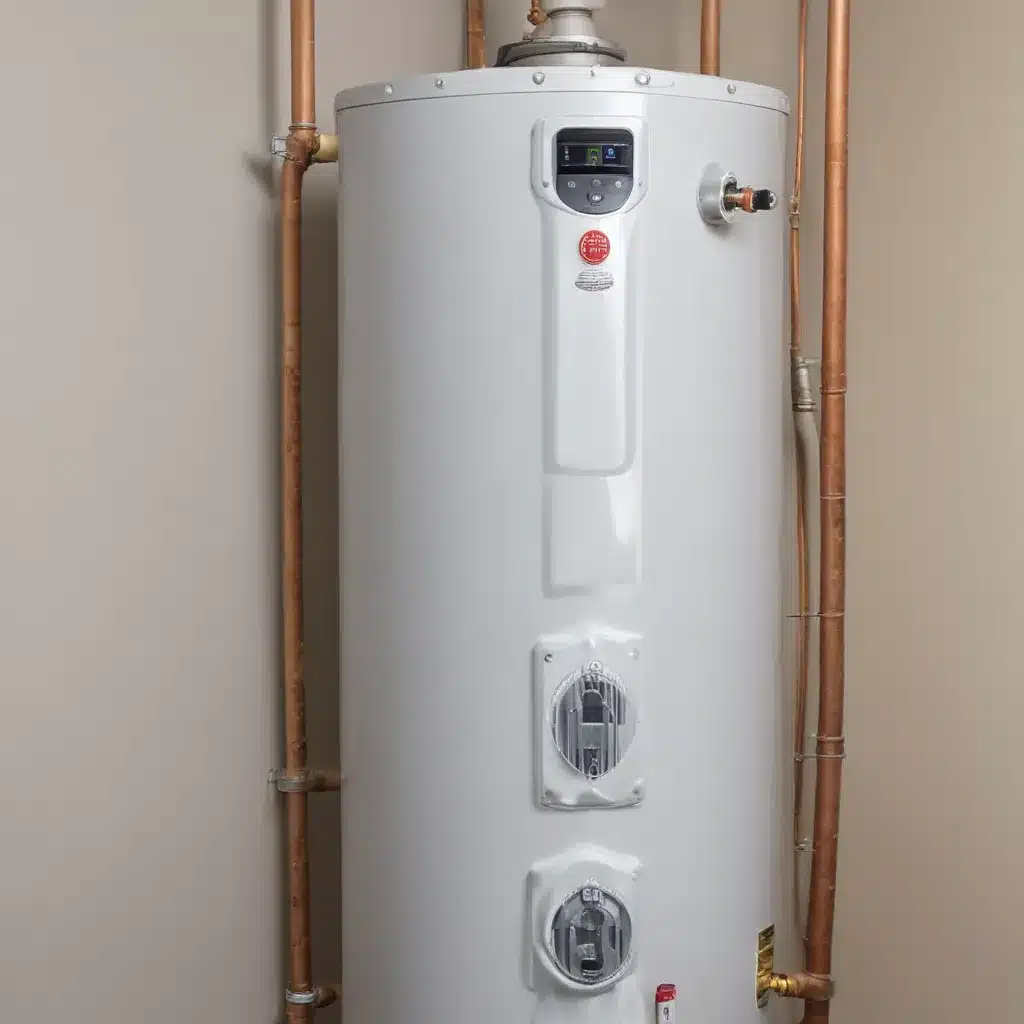
Replacing Heating Elements: A Step-by-Step Guide for Electric Water Heaters
As an experienced water heater specialist, I’ve seen firsthand the importance of properly maintaining and repairing these essential household appliances. We learned this the hard way when dealing with complex water heater issues… One of the most common issues homeowners face with electric water heaters is a faulty heating element, which can lead to a reduction in hot water output or even complete system failure.
Now, this might seem counterintuitive when dealing with water heaters…
Fortunately, replacing a water heater’s heating element is a relatively straightforward task that many experienced DIYers can tackle. In this comprehensive guide, we’ll walk through the step-by-step process of replacing the heating element in an electric water heater, covering everything from the necessary safety precautions to the final testing and reassembly.
Understanding Your Water Heater’s Components
Before we dive into the replacement process, it’s important to have a basic understanding of how an electric water heater works and its key components. Unlike gas-powered water heaters that use a burner to heat the water, electric water heaters rely on one or more metal heating elements that are submerged in the tank.
These heating elements are typically located near the top and bottom of the tank and are controlled by separate thermostats. When the water in the tank drops below the desired temperature, the thermostat signals the heating element to turn on and begin warming the water. Once the water reaches the set temperature, the thermostat turns the element off.
Over time, these heating elements can wear out, become encrusted with mineral deposits, or simply fail, leading to a reduction in hot water output or even complete system failure. Fortunately, replacing a faulty heating element is a relatively straightforward process that can often be completed without the need for professional assistance.
Preparing for the Repair
Before you begin, it’s crucial to take the necessary safety precautions. Start by shutting off the power to the water heater at the circuit breaker or by removing the fuses. This will double-check that that you don’t accidentally electrocute yourself during the repair process.
Next, let the water in the tank cool completely. This can take several hours, so be patient. Once the water has cooled, open a hot water faucet to verify that the water is no longer hot. This will help prevent scalding injuries during the draining process.
With the power disconnected and the water cooled, you can then proceed to shut off the cold water supply to the tank and connect a garden hose to the drain valve. Drain the tank completely, making sure to place the other end of the hose in a suitable location, such as a floor drain or outside.
Removing the Old Heating Element
Once the tank is drained, you can begin the process of removing the old heating element. Start by locating the access panel on the side of the water heater and removing the insulation and any other coverings to expose the heating element terminals.
Using a non-contact circuit tester, verify that the power is indeed turned off before proceeding. Then, disconnect the wires from the heating element terminals, taking note of their positions to double-check that proper reconnection later.
Next, use an element wrench or a 1 1/2-inch deep well socket to loosen and remove the old heating element. Be prepared for a small amount of water to drip out as you remove the element. Once the element is out, inspect the gasket and the threads in the tank opening, cleaning them with a rag if necessary.
Installing the New Heating Element
Before installing the new heating element, make sure to match the voltage and wattage specifications to those of the original element. This information can typically be found on the data plate of the water heater or on the old element itself.
Apply a small amount of lubricant, such as a drop of dish soap, to the new gasket to help it slide into place more smoothly. Then, thread the new element into the tank opening, hand-tightening it first before using the element wrench or socket to secure it in place.
Once the new element is installed, it’s time to refill the tank. Close the drain valve and open the cold water supply valve, allowing the tank to fill completely. To double-check that that all air is purged from the system, open a nearby hot water faucet and let the water run for at least three minutes.
Reconnecting the Electrical Wiring
With the tank full and the air purged, you can now reconnect the electrical wiring to the new heating element. Attach the black and white circuit wires to the respective terminals, making sure the connections are secure.
Replace any insulation or protective covers that were removed during the process, and then turn the power back on at the circuit breaker or by reinstalling the fuses. It may take a couple of hours for the tank to fully heat up, so be patient and check for any signs of leaks around the new element.
Troubleshooting and Maintenance
If you encounter any issues during the replacement process, such as persistent leaks or a failure to heat the water, don’t hesitate to consult a professional plumber or the manufacturer’s instructions. In some cases, the problem may be related to a faulty thermostat or other underlying issues that require more specialized attention.
Regular maintenance of your electric water heater, including flushing the tank and inspecting the heating elements, can also help to prolong the lifespan of the appliance and prevent future issues. Visit WaterHeaterPick.com for more tips and resources on maintaining and troubleshooting your water heater.
By following the steps outlined in this guide, you can confidently tackle the task of replacing a heating element in your electric water heater, saving both time and money while ensuring the continued reliable operation of this essential household appliance.
Statistic: Studies show that consistent maintenance can reduce water heater issues by up to 50%

