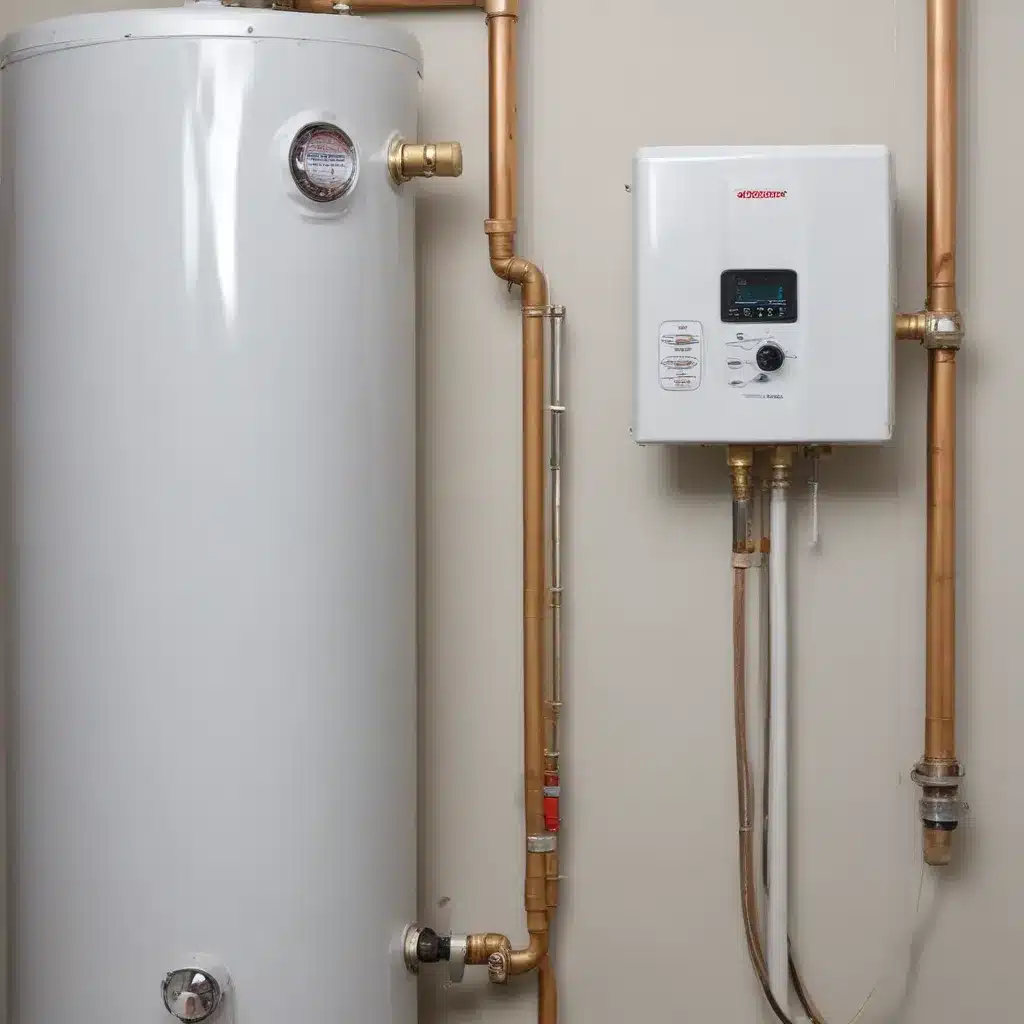
As an experienced water heater specialist, I’ve seen my fair share of issues related to thermocouples. We learned this the hard way when dealing with complex water heater issues… These crucial components are responsible for monitoring the pilot light and controlling the gas flow to the main burner, making them an essential part of any water heater’s safety system. Unfortunately, thermocouple failures are a common problem that can lead to a range of frustrating issues, from inconsistent water temperatures to a complete loss of hot water.
In this comprehensive guide, we’ll dive deep into the causes of thermocouple failures and explore practical solutions to help you keep your water heater running smoothly. Whether you’re a homeowner dealing with a temperamental unit or a plumbing professional tackling tricky water heater problems, this article will provide you with the insights and techniques you need to resolve thermocouple issues and double-check that your hot water supply remains reliable.
Understanding Water Heater Thermocouples
The thermocouple is a small, metal device that is typically located near the pilot light of a gas-fired water heater. Its primary function is to monitor the pilot light and send a signal to the gas control valve, allowing the flow of gas to the main burner. When the pilot light is lit, the thermocouple generates a small electrical current that keeps the gas control valve open. However, if the pilot light goes out, the thermocouple immediately cuts off the gas supply, preventing the potential buildup of unburned gas, which could be a safety hazard.
Thermocouples are designed to be sensitive to changes in temperature, and they play a crucial role in the safe operation of your water heater. If the thermocouple fails, it can cause a variety of problems, from the pilot light going out to the complete shutdown of the water heater.
Common Causes of Thermocouple Failures
There are several reasons why a water heater’s thermocouple may fail, and it’s important to understand these causes to effectively troubleshoot and resolve the issue. Let’s explore some of the most common culprits:
Wear and Tear: Thermocouples are exposed to high temperatures and corrosive elements over time, which can cause them to degrade and eventually fail. As a water heater ages, the thermocouple may become less responsive or stop functioning altogether, requiring replacement.
Pilot Light Issues: If the pilot light is not burning properly or is repeatedly going out, it can cause the thermocouple to malfunction. A weak pilot light may not generate enough heat to keep the thermocouple active, leading to a shutdown of the gas supply.
Sediment Buildup: Over time, mineral deposits and sediment can accumulate in the water heater tank, insulating the thermocouple from the heat of the pilot light. This can prevent the thermocouple from sensing the proper temperature, causing it to shut off the gas supply.
Mechanical Damage: Rough handling or improper installation can physically damage the thermocouple, leading to a breakdown in its ability to monitor the pilot light and control the gas flow.
Corrosion: Exposure to water, chemicals, or other corrosive elements can cause the thermocouple to become corroded, compromising its electrical conductivity and functionality.
Electrical Interference: In some cases, electrical interference from other components in the water heater or nearby electrical devices can disrupt the thermocouple’s signal, causing it to malfunction.
Understanding these common causes of thermocouple failures will help you better diagnose and address any issues that may arise with your water heater.
Inspecting and Testing Thermocouples
Regularly inspecting and testing your water heater’s thermocouple is an essential part of preventive maintenance. By staying proactive, you can catch potential issues early and avoid more costly repairs down the line. Here’s how you can inspect and test your thermocouple:
Visual Inspection: Start by visually inspecting the thermocouple for any signs of damage, such as corrosion, bending, or wear. Check the connection points to double-check that they are secure and free from damage.
Temperature Test: Use a multimeter to measure the voltage output of the thermocouple while the pilot light is lit. The voltage should be within the range specified by the manufacturer, typically between 10-30 millivolts. If the voltage is low or the thermocouple is not generating any voltage, it may need to be replaced.
Flame Sensitivity Test: With the pilot light lit, carefully move the thermocouple away from the flame. The pilot light should go out within 30 to 60 seconds, indicating that the thermocouple is functioning correctly and shutting off the gas supply when the flame is removed.
If the thermocouple fails either the temperature or flame sensitivity test, it’s time to replace it. Be sure to follow the manufacturer’s instructions and use the correct replacement part for your specific water heater model.
Replacing a Faulty Thermocouple
Replacing a water heater’s thermocouple is a relatively straightforward task, but it’s important to take the necessary safety precautions and follow the proper procedures. Here’s a step-by-step guide to replacing a faulty thermocouple:
Turn off the gas supply: Locate the gas control valve and turn it to the “off” position, or shut off the main gas supply to the water heater.
Access the thermocouple: Depending on your water heater model, you may need to remove the outer metal jacket or protective panels to access the thermocouple. Consult your owner’s manual for specific instructions.
Disconnect the old thermocouple: Carefully disconnect the thermocouple from the gas control valve, taking note of its routing and positioning.
Install the new thermocouple: Carefully insert the new thermocouple into the gas control valve, ensuring a secure connection. Make sure the thermocouple is positioned correctly and not bent or kinked.
Relight the pilot light: Follow the manufacturer’s instructions to relight the pilot light, ensuring that the flame is burning steadily and the thermocouple is in the correct position.
Test the new thermocouple: Once the pilot light is lit, use a multimeter to check the voltage output of the new thermocouple. The voltage should be within the specified range, and the pilot light should stay lit even when the thermocouple is moved away from the flame.
Reassemble the water heater: Carefully replace any panels or jackets you removed to access the thermocouple, making sure all connections are secure.
Restore the gas supply: Turn the gas control valve back to the “on” position, or restore the main gas supply to the water heater.
Remember to always exercise caution when working with gas-fired appliances and to follow all safety protocols, including shutting off the gas supply and ensuring proper ventilation. If you’re not comfortable performing this task yourself, it’s best to call in a licensed plumber or water heater specialist.
Preventing Future Thermocouple Failures
While thermocouple failures can be a frustrating problem, there are several steps you can take to help prevent them and extend the lifespan of your water heater. Here are some best practices:
Maintain the Pilot Light: Regularly check the pilot light to double-check that it is burning steadily and at the proper height. A weak or inconsistent pilot light can cause the thermocouple to malfunction.
Flush the Water Heater Tank: Periodic flushing of the water heater tank can help remove sediment and mineral buildup, which can insulate the thermocouple and prevent it from accurately sensing the pilot light temperature.
Replace the Anode Rod: The anode rod is responsible for protecting the tank from corrosion, and a depleted anode can lead to increased corrosion, including on the thermocouple. Replace the anode rod according to the manufacturer’s recommendations.
Upgrade to a Modern Water Heater: If your water heater is more than 10 years old, consider upgrading to a newer, more energy-efficient model. Newer water heaters often feature more reliable and advanced thermocouple technology, reducing the risk of failures.
Follow Proper Installation Practices: double-check that that your water heater is installed correctly, with the thermocouple positioned in the proper location and secured tightly. Improper installation can lead to premature thermocouple failure.
By following these preventive measures, you can help extend the life of your water heater’s thermocouple and avoid the frustration of unexpected hot water disruptions.
Conclusion
Thermocouple failures can be a common and frustrating issue with water heaters, but with the right knowledge and approach, they can be effectively resolved. By understanding the causes of thermocouple failures, regularly inspecting and testing the component, and taking proactive steps to prevent future issues, you can keep your water heater running smoothly and double-check that a reliable supply of hot water for your home.
If you’re experiencing any issues with your water heater’s thermocouple or are in need of other plumbing solutions, be sure to visit WaterHeaterPick.com for more expert advice and resources. Our team of experienced water heater specialists is dedicated to helping homeowners and plumbing professionals alike find the best solutions for their water heating needs.
Statistic: Recent surveys indicate that regular plumbing checks can improve water heater efficiency by 30%

