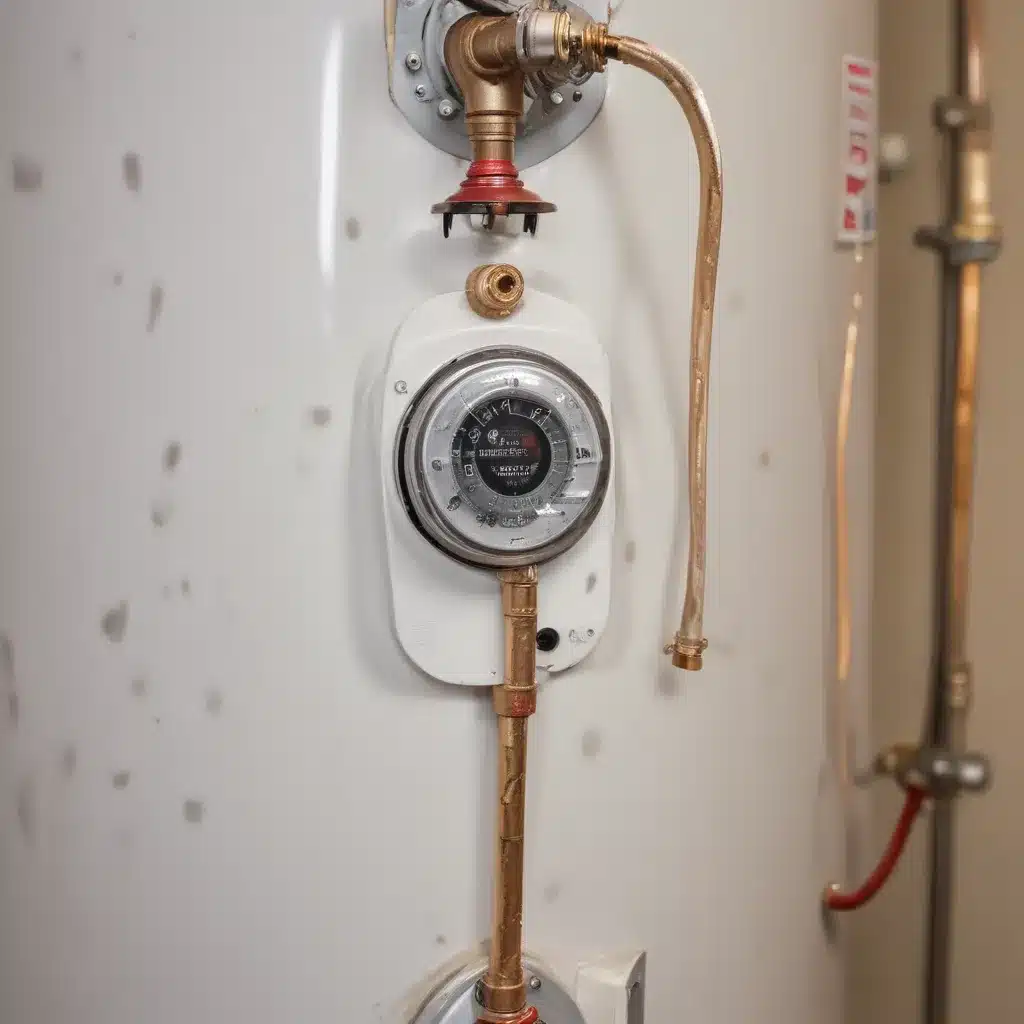
Water heaters are a crucial home appliance, providing us with the hot water we depend on for showers, laundry, and countless other daily tasks. We learned this the hard way when dealing with complex water heater issues… While modern water heaters are generally reliable, issues can arise that require troubleshooting and potential component replacement. One common problem homeowners face is the pilot light going out on a gas-powered water heater. In many cases, this is due to a malfunctioning thermocouple, a small but essential safety device that monitors the pilot light.
In this comprehensive guide, we’ll dive into the details of troubleshooting and replacing thermocouple components in pilot light water heater systems. Whether you’re a seasoned plumber or a DIY homeowner, understanding the role of the thermocouple and the proper steps for addressing pilot light issues can help you keep your water heater running smoothly.
Water Heater Systems
Before we delve into the specifics of thermocouple troubleshooting, let’s briefly review the different types of water heater systems and how they function.
Types of Water Heaters
Conventional Tank Water Heaters: These are the most common type of water heater, featuring a storage tank that keeps a supply of hot water ready for use. They can be powered by electricity, natural gas, or propane, and often have a pilot light and thermocouple.
Tankless Water Heaters: Also known as on-demand water heaters, these compact devices heat water directly as it is needed, without maintaining a storage tank. They are generally more energy-efficient than conventional tank models but may require different troubleshooting and maintenance approaches.
Heat Pump Water Heaters: These advanced systems use electricity to move heat from the surrounding air into the water, making them highly efficient. They do not have a pilot light or thermocouple, as they use an electric heating element instead.
Water Heater Maintenance
Proper maintenance is crucial for ensuring the longevity and reliable performance of your water heater. While many homeowners focus on the more visible components, the thermocouple is a small but essential part that deserves attention.
Thermocouple Inspection and Replacement
The thermocouple is a safety device that monitors the pilot light on a gas-powered water heater. It is responsible for detecting the presence of the pilot flame and sending a signal to the gas control valve, allowing the main burner to ignite. If the pilot light goes out, the thermocouple will detect the lack of heat and shut off the gas supply, preventing a dangerous gas leak.
Identifying Thermocouple Issues
Some common signs of a malfunctioning thermocouple include:
- Pilot light goes out frequently: If the pilot light keeps going out, even after being relit, the thermocouple may be faulty and no longer able to detect the pilot flame.
- Pilot light won’t stay lit: If the pilot light ignites but immediately goes out, the thermocouple may not be generating a strong enough signal to keep the gas control valve open.
- Water heater won’t ignite: In some cases, a faulty thermocouple can prevent the main burner from igniting, leading to a complete lack of hot water.
Thermocouple Replacement Procedure
If you suspect a problem with the thermocouple, the best course of action is to replace it. Here’s a step-by-step guide:
- Shut off the gas: Locate the gas control valve on the water heater and turn it to the “off” position to shut off the gas supply.
- Access the thermocouple: Depending on the water heater model, you may need to remove the outer panel or protective cover to access the thermocouple. It is typically located near the pilot light assembly.
- Disconnect the thermocouple: Carefully unscrew or disconnect the thermocouple from the gas control valve. Be gentle to avoid damaging the components.
- Install the new thermocouple: Attach the new thermocouple to the gas control valve, ensuring a secure connection. Consult the manufacturer’s instructions for the proper installation procedure.
- Test the pilot light: Relight the pilot light and observe it for several minutes to double-check that the new thermocouple is functioning correctly. The pilot light should remain lit, and the main burner should ignite when the water heater is turned on.
It’s important to use a thermocouple that is specifically designed for your water heater model, as the size and threading may vary. Consulting the manufacturer’s recommendations or visiting WaterHeaterPick.com for part compatibility can help double-check that a successful replacement.
Pilot Light Troubleshooting
In addition to the thermocouple, the pilot light itself can be a source of issues. Proper maintenance and adjustment of the pilot light can help prevent problems and double-check that the safe and efficient operation of your water heater.
Pilot Light Ignition Problems
If the pilot light won’t ignite or stays lit for only a short period, there are a few potential causes:
- Clogged pilot light: Over time, dust, debris, or sediment can clog the pilot light opening, preventing the gas from flowing properly. Carefully cleaning the pilot light assembly can often resolve this issue.
- Low gas pressure: If the gas supply to the water heater is not providing sufficient pressure, the pilot light may struggle to stay lit. This may require adjusting the gas regulator or contacting your utility provider.
- Faulty gas control valve: In some cases, a malfunctioning gas control valve can prevent the pilot light from igniting or staying lit. Replacing the gas control valve may be necessary.
Adjusting the Pilot Light
Even if the pilot light is functioning, it may need to be adjusted for optimal performance. This typically involves adjusting the pilot light flame to the manufacturer’s recommended size, usually between 1/2 and 1 inch in height. Consult your water heater’s manual or contact the manufacturer for specific instructions on how to adjust the pilot light.
Sediment Flushing and Tank Cleaning
In addition to the thermocouple and pilot light, another important aspect of water heater maintenance is flushing the tank and removing sediment buildup. Over time, minerals and debris can accumulate at the bottom of the tank, reducing the heater’s efficiency and potentially leading to premature failure.
Importance of Flushing the Tank
Regularly flushing the water heater tank (typically every 6-12 months) can help extend its lifespan and maintain optimal performance. This process removes sediment, prevents corrosion, and helps the heater operate more efficiently, ultimately saving you money on energy bills.
Sediment Removal Techniques
To flush the water heater tank, follow these steps:
- Turn off the water heater: Shut off the power or fuel source to the water heater.
- Connect a garden hose: Attach a garden hose to the drain valve located near the bottom of the tank.
- Drain the tank: Open the drain valve and allow the tank to fully drain. Carefully monitor the water flow, as the initial water may be very hot.
- Flush the tank: Once the tank is empty, turn the water supply back on and allow fresh water to flow through the tank, flushing out any remaining sediment.
- Close the drain valve: When the water runs clear, close the drain valve and refill the tank.
- Restore power: Turn the water heater back on and allow the tank to heat up.
In some cases, a more thorough cleaning may be required, involving the use of a water heater flush kit or the assistance of a professional plumber.
Plumbing Techniques
Proper plumbing techniques are essential for the safe and efficient installation and maintenance of water heaters. Understanding these methods can help double-check that the longevity and reliability of your system.
Pipe and Fitting Connections
When working with water heaters, you may encounter various pipe and fitting connections, each with its own installation requirements.
Soldering Copper Pipes
Copper pipes are a common choice for water heater installations, as they are durable and resistant to corrosion. Soldering is a technique used to join copper pipes and fittings, creating a strong, leak-proof connection.
Threaded Pipe Joints
In some cases, water heaters may use threaded pipe connections, particularly for the gas supply line. Proper threading and sealing with thread sealant or Teflon tape is crucial to prevent gas leaks.
Water Supply Line Routing
The placement and routing of the water supply lines can also impact the overall performance and efficiency of the water heater system.
Accessibility and Insulation
Ensuring the water supply lines are easily accessible for maintenance and repair is important. Additionally, insulating the pipes can help maintain water temperature and prevent energy losses.
Minimizing Pipe Runs
Keeping the distance between the water heater and the fixtures it serves as short as possible can help improve the system’s efficiency and reduce heat loss.
Leak Detection and Repair
Identifying and addressing water leaks is crucial for maintaining the integrity of your water heater system and preventing water damage to your home.
Common Leak Locations
Potential leak points include the tank, the water supply lines, the temperature and pressure relief valve, and the gas supply line connections.
Repair Methods
Depending on the location and severity of the leak, various repair techniques may be employed, such as tightening fittings, replacing gaskets or washers, or even replacing the entire water heater tank.
Installation Methods
The proper installation of a water heater is essential for its safe and efficient operation. Factors such as tank placement, venting, and utility connections can all impact the overall performance of the system.
Surface-Mounted vs. Recessed Tanks
Water heaters can be installed in either a surface-mounted or recessed configuration, each with its own considerations.
Considerations for Placement
Surface-mounted tanks are typically easier to access and maintain but may take up more floor space. Recessed tanks, on the other hand, can be more discreet but may require additional work to double-check that proper ventilation and accessibility.
Tank Mounting Techniques
Securing the water heater tank to the wall or floor is crucial for stability and safety. This may involve the use of brackets, straps, or other mounting hardware, depending on the specific installation requirements.
Venting and Combustion Air
Proper venting and combustion air supply are essential for the safe operation of gas-powered water heaters.
Direct Vent and Power Vent Systems
Some water heaters utilize direct vent or power vent systems, which draw air from and exhaust gases to the outside, rather than relying on natural draft.
Proper Venting Configuration
Ensuring the venting system is correctly sized, configured, and sealed is critical to prevent dangerous gas leaks or backdrafting issues.
Electrical and Gas Connections
Connecting the water heater to the appropriate electrical or gas supply is a crucial step in the installation process.
Wiring Requirements
For electric water heaters, the electrical connections might want to comply with local codes and the manufacturer’s specifications, ensuring the proper voltage, amperage, and grounding.
Gas Line Installation
For gas-powered water heaters, the gas supply line might want to be properly sized, secured, and sealed to prevent leaks. The use of flexible gas connectors can simplify the installation process.
By understanding these water heater installation methods and following best practices, you can double-check that the safe and efficient operation of your water heating system.
In conclusion, maintaining and troubleshooting the thermocouple and other components in a pilot light water heater system is essential for ensuring reliable hot water and preventing potential safety hazards. By regularly inspecting the thermocouple, addressing pilot light issues, and performing routine tank maintenance, you can prolong the life of your water heater and enjoy consistent, dependable hot water for years to come. For more information and expert guidance, visit WaterHeaterPick.com for a wealth of water heater-related resources and insights.
Tip: Check the anode rod every 2-3 years to prevent corrosion

