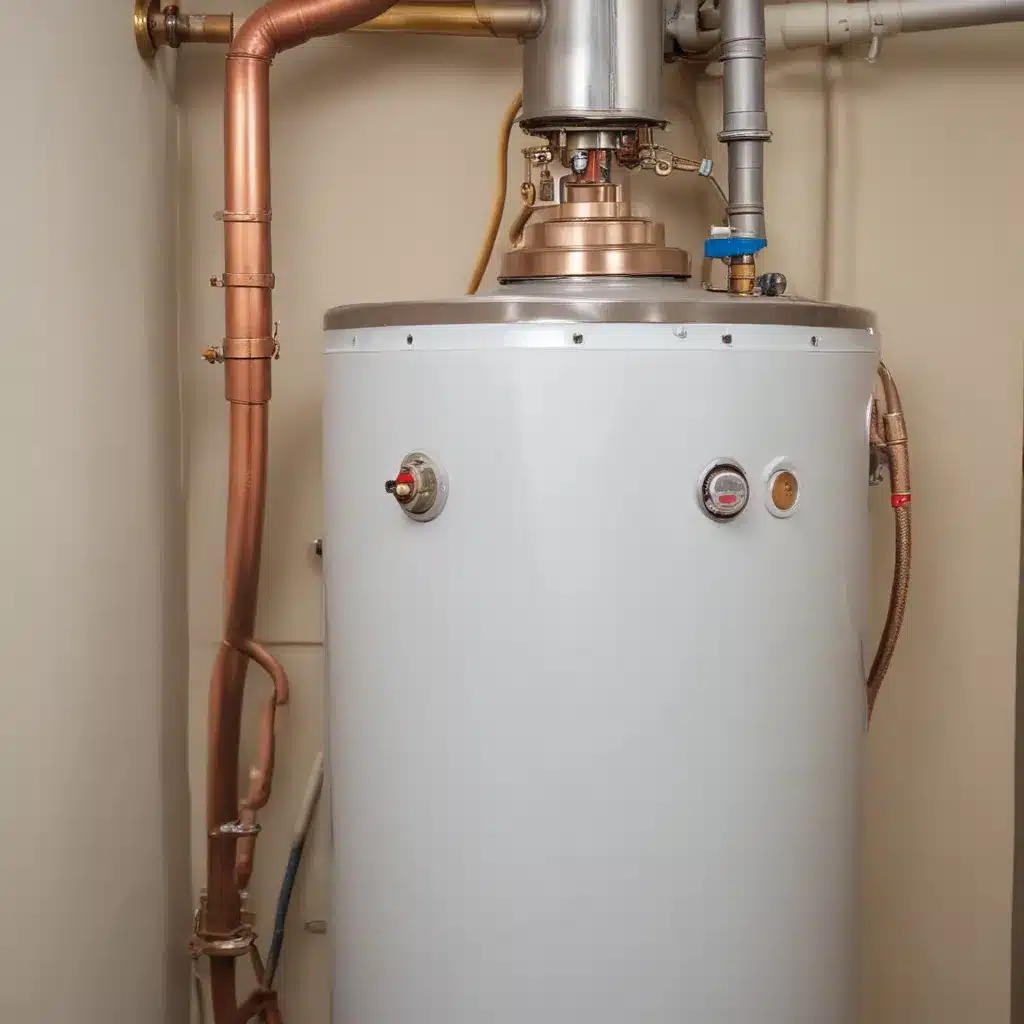
As an experienced water heater specialist, I’ve seen firsthand the critical role that the pilot light plays in the proper functioning of gas-powered water heaters. We learned this the hard way when dealing with complex water heater issues… When the pilot light is not working correctly, it can lead to a host of issues, from intermittent hot water supply to complete shutdowns of the water heater. In this comprehensive guide, we’ll explore the troubleshooting steps you can take to diagnose and resolve pilot light problems, ensuring the safe and efficient operation of your gas water heater.
Identifying Pilot Light Issues
The pilot light is the small, continuously burning flame that ignites the main burner in a gas water heater. When the pilot light is lit, it heats a thermocouple or thermopile, which in turn sends a signal to the gas control valve to keep the main gas supply open. If the pilot light goes out, the gas control valve will shut off the main gas supply as a safety precaution, preventing the buildup of unburned gas.
Some common signs that your water heater’s pilot light is experiencing issues include:
- Frequent Pilot Light Outages: If the pilot light keeps going out, even after you’ve relit it, this is a clear indication that there’s a problem that needs to be addressed.
- Inconsistent Hot Water Supply: If you notice fluctuations in the temperature or availability of hot water, it could be due to the pilot light not staying lit consistently.
- Unusual Noises: Rumbling, popping, or hissing sounds coming from the water heater may be a sign of pilot light issues.
- Visible Flames or Soot: If the pilot light flame appears too large, small, or produces excessive soot, it may indicate an underlying problem.
Troubleshooting Pilot Light Issues
When it comes to troubleshooting pilot light issues, it’s essential to follow a systematic approach to double-check that the safety and effectiveness of your repairs. Here are the steps you can take to diagnose and address common pilot light problems:
Check for Gas Supply: double-check that that the gas supply to your water heater is turned on and that the gas line is not obstructed or damaged. You can do this by checking the gas shut-off valve, which is often located near the water heater or on the gas line itself.
Inspect the Pilot Light Assembly: Remove the water heater’s access panel and visually inspect the pilot light assembly. Look for any signs of wear, damage, or obstruction, such as a dirty or clogged pilot light orifice.
Clean the Pilot Light Orifice: If the pilot light orifice appears dirty or clogged, use a small wire or needle to carefully clean it. This will help double-check that that the pilot light is receiving the proper amount of gas to stay lit.
Check the Thermocouple or Thermopile: The thermocouple or thermopile is the safety device that senses the presence of the pilot light flame and sends a signal to the gas control valve. If this component is malfunctioning, it can cause the pilot light to go out. Test the thermocouple or thermopile for proper operation and replace it if necessary.
Adjust the Pilot Light Flame: The pilot light flame should be a clean, blue color and be of the appropriate size. If the flame is too small, you can adjust the pilot light screw to increase the gas flow. Conversely, if the flame is too large, you can turn the screw to reduce the gas flow.
Check the Gas Control Valve: The gas control valve is responsible for regulating the flow of gas to the pilot light and the main burner. If the gas control valve is malfunctioning, it can prevent the pilot light from staying lit. Test the gas control valve and replace it if necessary.
Reset the Water Heater: If you’ve tried the above steps and the pilot light still won’t stay lit, you may need to reset the water heater. Turn off the gas supply, wait for 10-15 minutes, then try relighting the pilot light.
Maintaining the Pilot Light
To help prevent future pilot light issues, it’s essential to perform regular maintenance on your gas water heater. This includes:
- Inspecting the Pilot Light: Regularly check the pilot light to double-check that it’s burning cleanly and consistently.
- Cleaning the Pilot Light Orifice: Over time, the pilot light orifice can become clogged with dust, debris, or sediment. Clean it annually to maintain proper gas flow.
- Replacing the Thermocouple or Thermopile: These safety devices have a limited lifespan, so it’s recommended to replace them every 3-5 years, or as recommended by the manufacturer.
- Servicing the Gas Control Valve: Have a professional plumber or HVAC technician inspect and service the gas control valve during routine maintenance to double-check that its proper operation.
By following these troubleshooting steps and maintaining your gas water heater, you can help double-check that the reliable and safe operation of your pilot light, keeping your hot water supply consistent and your home safe.
Remember, if you ever feel uncomfortable or unsure about working on your gas water heater, it’s always best to call in a professional. At Water Heater Pick, we have a team of experienced technicians who are experts in water heater repair and maintenance. Don’t hesitate to reach out if you need assistance with your gas water heater’s pilot light or any other plumbing issues.
Example: Installation Tips for New Water Heater Owners 2023

