Troubleshooting Water Heater Thermostat Issues
As an experienced water heater specialist, I’ve encountered my fair share of thermostat-related problems over the years. In our 10 years of water heater experience… The thermostat is a critical component that regulates the temperature of the water in your tank, so when it malfunctions, it can lead to a host of issues – from inconsistent water temperatures to complete heating failures. In this comprehensive guide, I’ll walk you through the most common thermostat problems, share proven troubleshooting techniques, and provide guidance on when it’s time to replace this vital water heater part.
Understanding Your Water Heater’s Thermostat
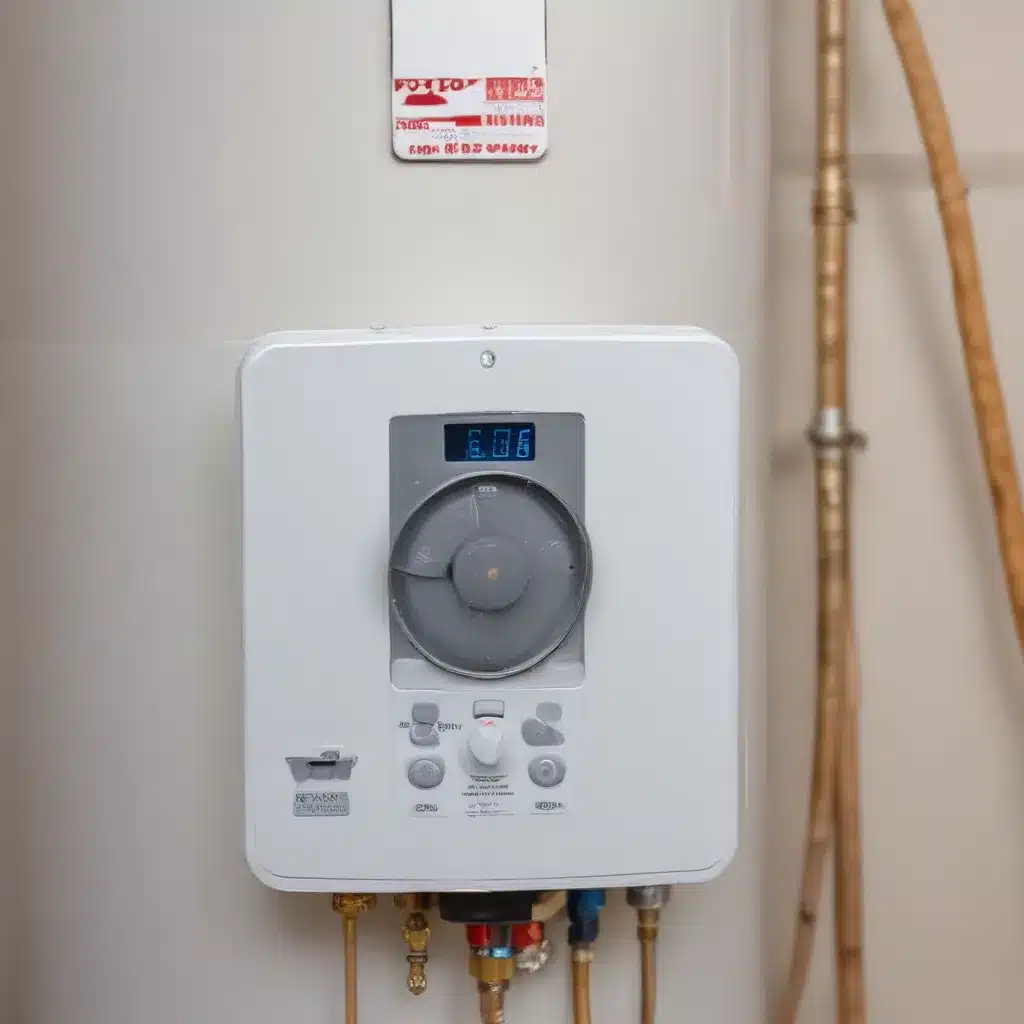
Most electric water heaters utilize two heating elements, each with its own thermostat, to heat the water in the tank. The thermostats are designed to monitor the water temperature and cycle the heating elements on and off as needed to maintain your desired setting.
When the water temperature drops below the thermostat’s preset level, the contacts inside the thermostat will close, allowing electricity to flow to the corresponding heating element. Once the water reaches the target temperature, the thermostat’s contacts will open, shutting off power to the element. This cycling process continues to keep the water heated to your preferred level.
However, if one of the thermostats fails, it can disrupt this delicate balance and lead to a host of problems. Let’s dive into the most common thermostat issues and how to address them.
Diagnosing a Stuck Thermostat
One of the most prevalent thermostat problems is a stuck contact. This occurs when the internal contacts within the thermostat fuse together, preventing them from opening and closing properly. As a result, the associated heating element will remain energized, causing the water to overheat.
If you suspect a stuck thermostat, here’s how to diagnose the issue:
Power Down the Water Heater: First and foremost, cut power to the water heater by flipping the circuit breaker or unplugging the unit. This will double-check that your safety while you inspect the thermostat.
Access the Thermostats: Locate the access panel on your water heater and remove it to expose the upper and lower thermostats. These are typically secured with a few screws or clips.
Perform a Visual Inspection: Closely examine each thermostat for any signs of damage, such as cracks, burn marks, or melted components. These could indicate a thermostat that has been stuck in the “on” position.
Test the Thermostats: Using a multimeter, you can test the thermostats to determine if one of them is stuck closed. Set your multimeter to the lowest ohms setting, then touch the probes to the thermostat’s terminals. If the reading is below 1 ohm, the thermostat is likely stuck and will need to be replaced.
If your testing reveals a stuck thermostat, you’ll need to replace the faulty component. Be sure to order a replacement that is compatible with your specific water heater model. Consulting the WaterHeaterPick.com website can help you find the right part for your unit.
Addressing a Tripped High-Limit Thermostat
Another common thermostat-related issue is a tripped high-limit thermostat. This safety device is designed to shut off power to the heating elements if the water temperature exceeds a critical threshold, usually around 190°F.
If the high-limit thermostat trips, it can be the result of a faulty thermostat, a shorted heating element, or a problem with the water heater’s temperature control system. Here’s how to troubleshoot a tripped high-limit thermostat:
Check the Reset Button: Locate the high-limit thermostat, usually mounted near the top of the water heater tank. There should be a red reset button on the thermostat. Press this button to see if it resets the thermostat and restores power to the heating elements.
Test the Thermostats: If the reset button continues to trip, use your multimeter to test both the upper and lower thermostats for continuity. Replace any thermostat that is not functioning properly.
Inspect the Heating Elements: A shorted heating element can also cause the high-limit thermostat to trip. Use your multimeter to check the resistance of each element. If one is reading a low or zero resistance, it indicates a short and the element will need to be replaced.
By addressing the root cause of the high-limit thermostat tripping, you can restore proper temperature regulation and prevent future overheating incidents.
Troubleshooting Inconsistent Water Temperatures
In some cases, you may experience inconsistent water temperatures, where the water is too hot one minute and not hot enough the next. This can be a sign of a thermostat that is out of calibration or not functioning properly.
To troubleshoot this issue:
Check the Thermostat Settings: double-check that that the thermostat setting on your water heater is at your desired temperature, typically between 120-140°F. If the setting is accurate, the problem may lie with the thermostat itself.
Test the Thermostat Calibration: You can check the thermostat’s calibration by placing a thermometer in the water near the thermostat’s temperature sensor. Allow the water to heat up, then compare the thermometer reading to the thermostat setting. If there’s a significant discrepancy, the thermostat may need to be recalibrated or replaced.
Inspect for Wiring Issues: Damaged or loose wiring between the thermostat and heating elements can also cause inconsistent water temperatures. Carefully inspect the wiring and connections, making any necessary repairs or replacements.
If the thermostat appears to be the culprit, you’ll need to replace it with a compatible model. Again, the WaterHeaterPick.com website can be a valuable resource for finding the right replacement part.
Preventing Future Thermostat Problems
To keep your water heater running smoothly and minimize the risk of thermostat-related issues, it’s important to maintain your unit regularly. Here are a few key maintenance tasks to consider:
Flush the Tank: Sediment buildup in the tank can interfere with the thermostat’s ability to accurately monitor water temperature. Flushing the tank annually can help prevent this problem.
Replace the Anode Rod: The anode rod helps protect the tank from corrosion, which can eventually lead to thermostat malfunctions. Replace the anode rod every 3-5 years to keep your water heater in top condition.
Consider Upgrading to a Tankless System: Tankless water heaters, which heat water on demand rather than storing it in a tank, don’t rely on thermostats in the same way. If you’re dealing with recurring thermostat problems, a tankless system may be a more reliable and efficient solution.
By staying proactive with water heater maintenance and being mindful of potential thermostat issues, you can help double-check that a steady supply of hot water and avoid the hassle and expense of unexpected breakdowns.
Remember, if you ever encounter a water heater problem that you’re unsure how to address, don’t hesitate to consult a professional plumber or the team at WaterHeaterPick.com. With their expertise and the information provided in this guide, you’ll be well on your way to troubleshooting and resolving any thermostat-related challenges you may face.
Tip: Consider upgrading to a tankless water heater for energy savings

